Creating the first map
To create a new map you need to select the "Map Tools" menu (right column), then "My Maps", and then click on the "New" button.
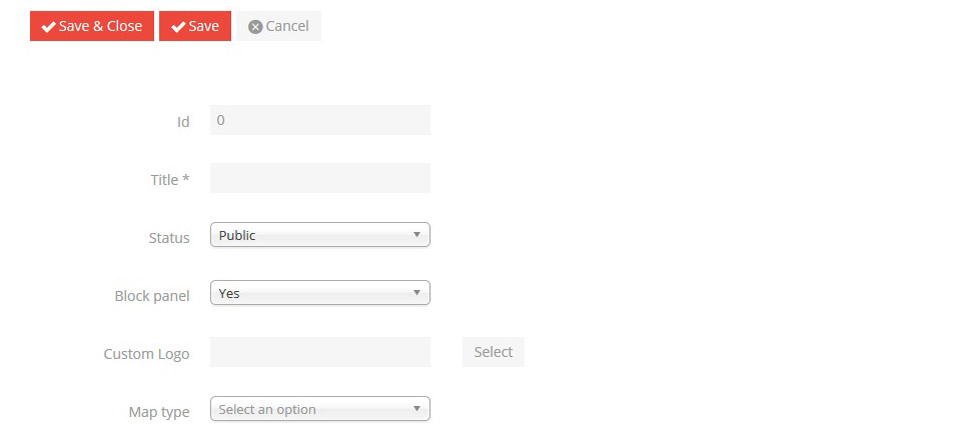
At this point you can fill out a form with map data.

Title
Map identification name.
Status
You can assign two values: the option "Public" means that the map will be visible to all, with "Private" the map will only be visible to users chosen by the creator of the map (commercial version).
Personalised logo (commercial version)
It is possible to upload and select images in PNG or GIF format. The image will be visible in the top right corner of the map instead of the Map Maker Tool logo.
Map type
Determines the mapping used for background.
Initial view
Determines where the map will be centred.
Custom css styles
Css code to assign styles to marker and vector descriptions on the map (for advanced users).
Scripts for statistics (commercial version)
In this field you can enter the JavaScript code to detect the number of page views where the map is placed (eg. Google Analytics) (advanced users).
To make your changes permanent click on "Save and Close" or "Save" at the top of the page.
In the free membership plan you can create a single map.